
Deep drawing is one of the best ways to make thin-wall, seamless metal shells for robotic arm enclosures—especially when you want impact resistance, EMI shielding, good cosmetics, and high repeatability at production volumes. Compared to machining or casting, deep drawing can deliver a strong enclosure with low weight and consistent wall thickness, often with fewer joints and fewer leak paths.
This guide focuses on practical, robotics-oriented decisions: what shapes work, what materials behave well, what tooling choices matter, and how to design enclosures that draw cleanly and assemble easily.
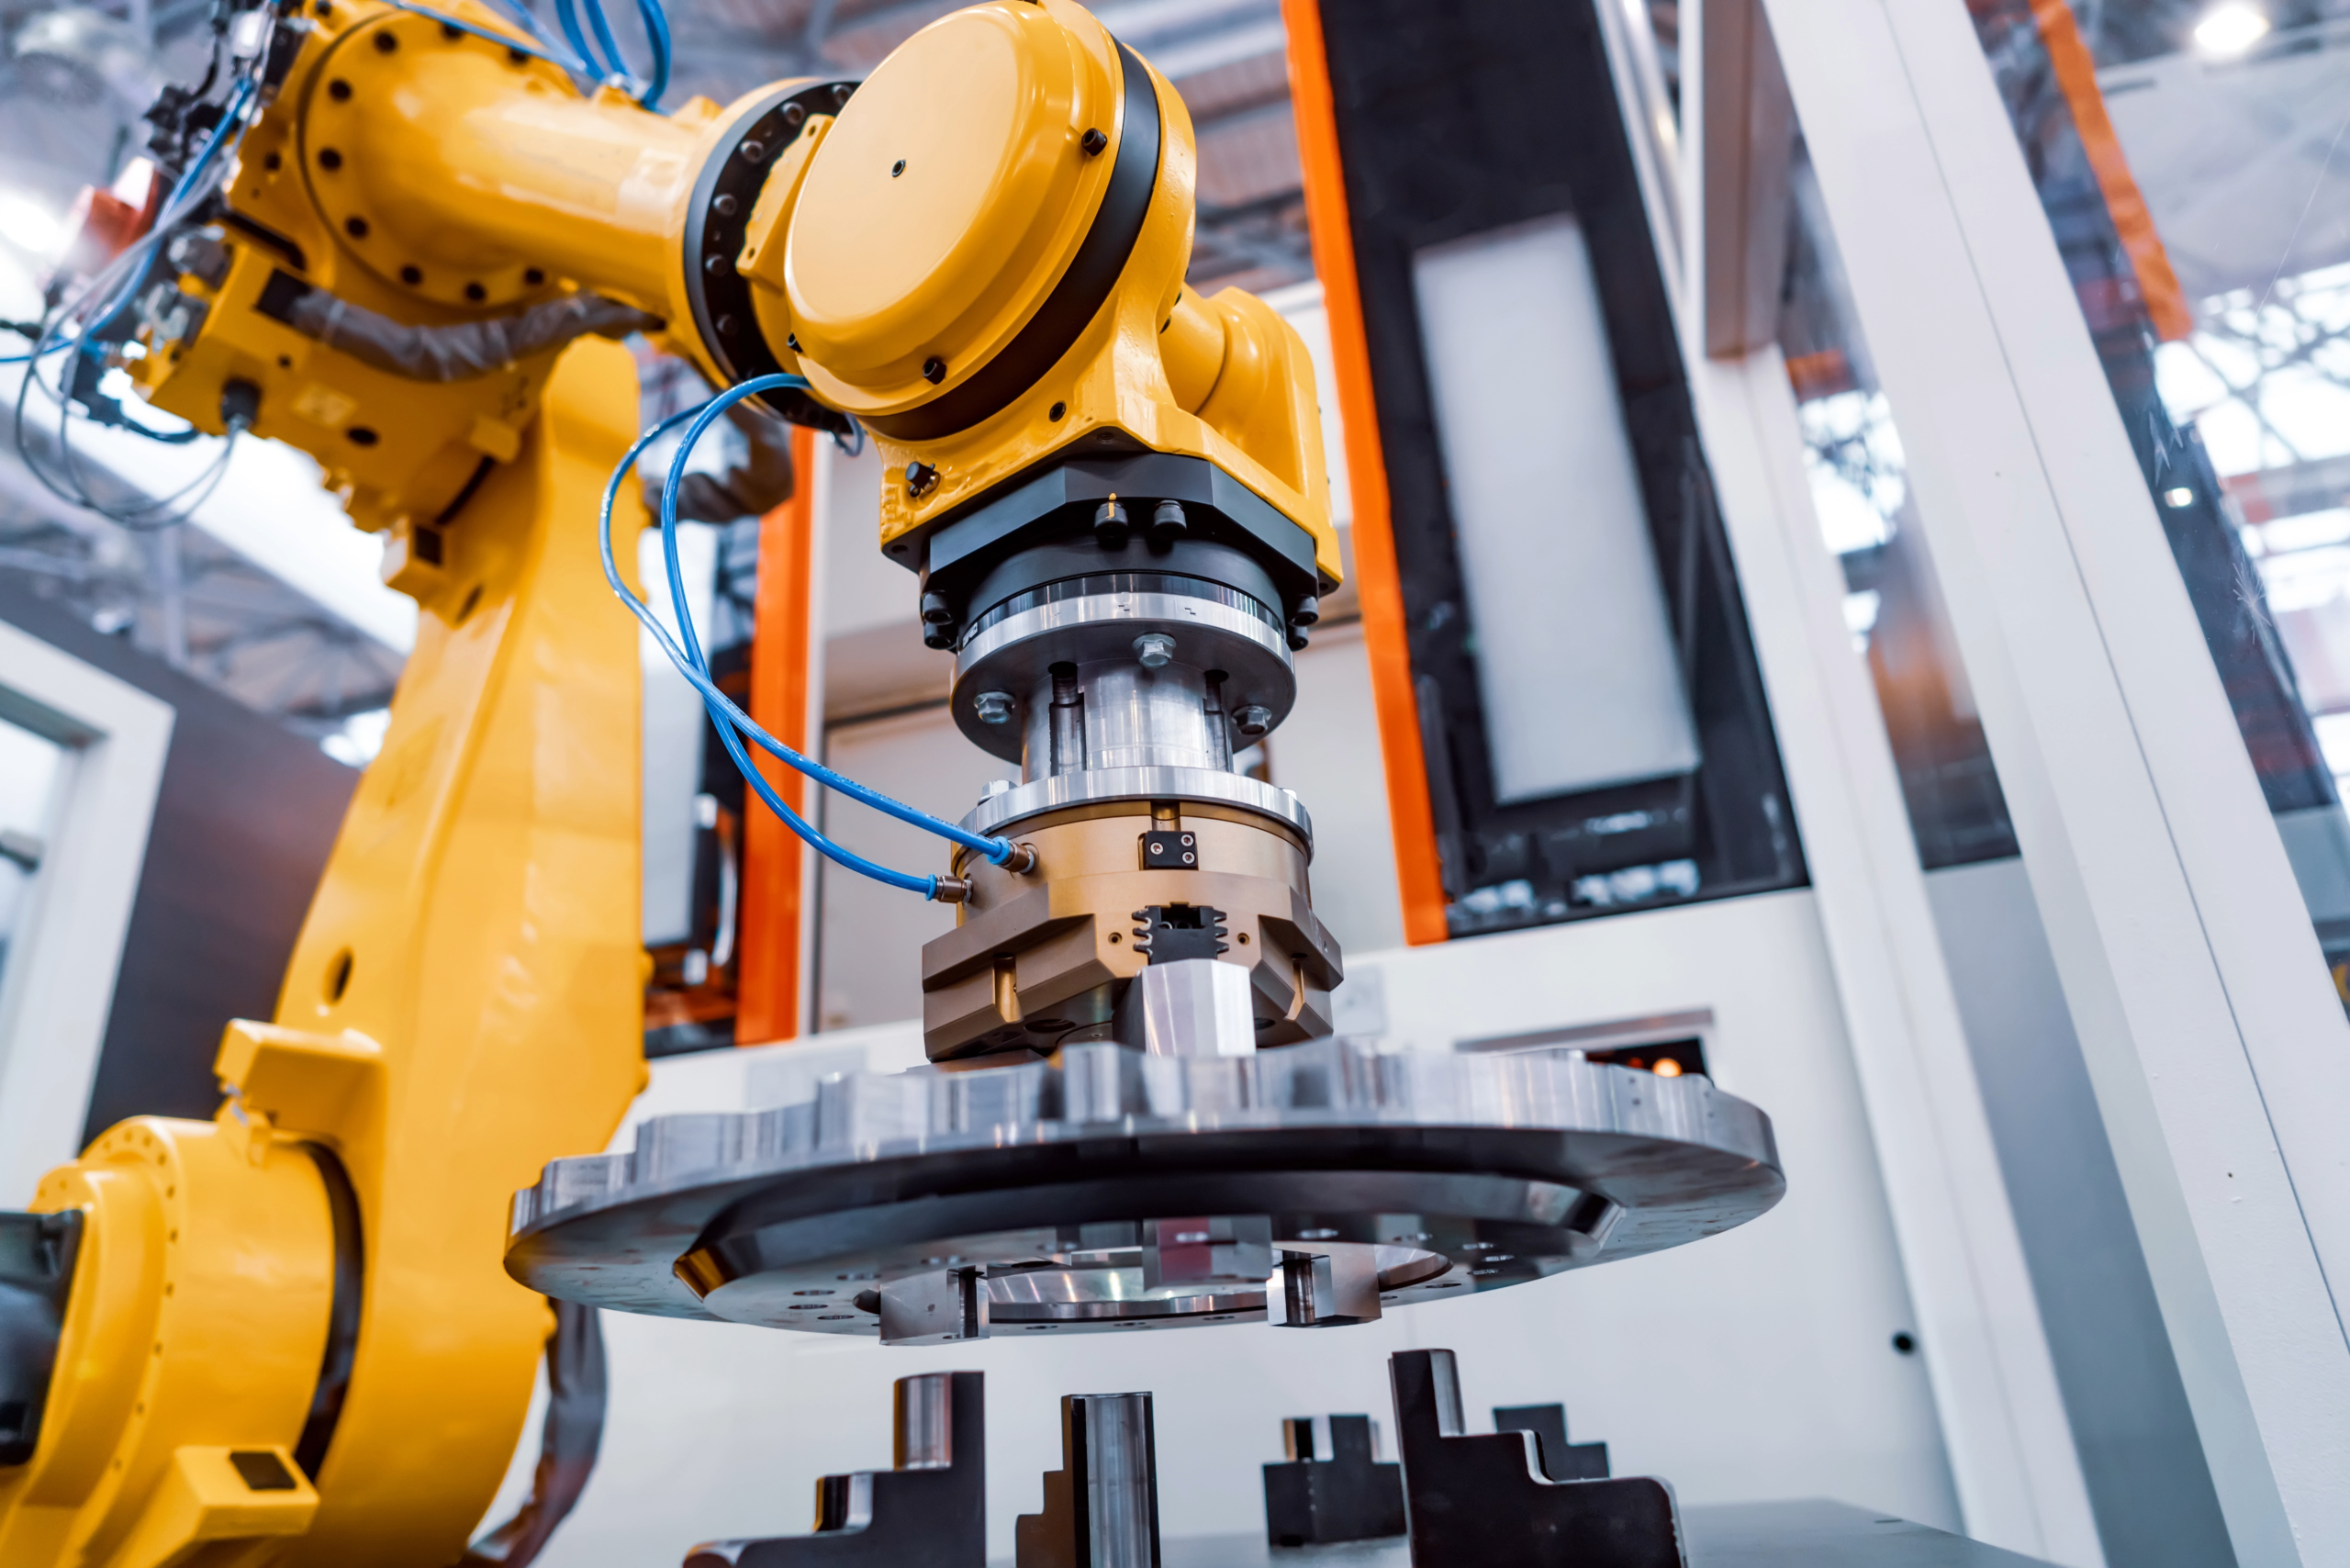
Where deep drawing fits in robotic arm hardware
Deep drawing is strongest when the enclosure is:
- Cup-like or shell-like (cylindrical, rectangular radiused, tapered)
- Mostly thin sheet (commonly ~0.3–3.0 mm, depending on alloy and geometry)
- Produced in repeat quantities (pilot → production)
- Improved by being seamless (dust ingress, splash resistance, EMI containment)
Typical robotic arm components made via deep drawing:
- Joint covers and shrouds (shoulder/elbow/wrist)
- Motor cans and protective shells around actuators
- Cable-routing sleeves and bell-shaped guards
- Sensor housings where EMI shielding and durability matter
- Cosmetic outer skins that still need dent resistance
Reference (process overview): https://en.wikipedia.org/wiki/Deep_drawing
Deep drawing vs stamping vs hydroforming vs spinning
Use deep drawing when you want:
- High throughput and repeatability
- Seamless shells with controlled wall thickness
- Lower cost per part at volume than machining
Consider alternatives when:
- Stamped + welded shells are acceptable and geometry is very non-cup-like
- Hydroforming is better for complex transitions/variable cross sections (often higher tooling complexity but great shape flexibility)
Reference: https://en.wikipedia.org/wiki/Hydroforming
- Metal spinning is better for low volume round parts (cheaper tooling, slower cycle time)
Reference: https://en.wikipedia.org/wiki/Metal_spinning
Geometry that draws well for arm enclosures
Deep drawing likes “gentle” geometry. In robotics enclosures, that usually means:
Favor continuous radii and controlled transitions
- Large inside radii reduce thinning and tearing
- Smooth tapers draw more reliably than sudden steps
- Avoid sharp corners; make rectangular shells “rounded rectangles”
Keep depth-to-diameter reasonable
A key feasibility indicator is the draw ratio (blank diameter relative to punch diameter for a cup). Parts that exceed what a single draw can support typically require redraw steps (multi-stage tooling).
Reference (draw ratio concept): https://en.wikipedia.org/wiki/Deep_drawing
Design flange and trim strategy early
Most enclosures need trimming after drawing. Plan:
- where the trim line lands,
- how you’ll fixture the shell for trim/pierce,
- where piercings avoid high-stress areas.
Material selection for robotic enclosures
Material choice drives formability, dent resistance, corrosion behavior, and finish quality.
Low carbon steel
Best for: cost-sensitive durable shells, painted parts, high dent resistance for thickness
Pros: great formability, robust process window
Cons: corrosion control needed (coatings, paint, e-coat)
Reference (steel sheet forming background): https://en.wikipedia.org/wiki/Sheet_metal
Stainless steel 304 / 316
Best for: washdown, sweat/humidity exposure, premium cosmetics, abrasion resistance
Pros: corrosion resistance, good appearance options (brushed, bead blast)
Cons: higher forming forces, springback, tool wear
Reference (304/316 general):
Aluminum (5xxx and 3xxx are common for forming)
Best for: lightweight shells, anodized cosmetic skins
Pros: low density, good corrosion behavior (esp. 5xxx), good finishing
Cons: denting at thin gauges, galling risk, higher sensitivity to tearing if radii are tight
Reference (sheet aluminum family notes): https://en.wikipedia.org/wiki/Aluminium_alloy
Robotics rule of thumb: if the enclosure is near impact zones (falls, bumps), consider either thicker aluminum, stainless, or a formed steel shell with coating.
Tooling and process choices that matter
Blank holder force and draw beads
The blank holder and draw beads control material flow. Too little restraint → wrinkles. Too much → tearing/thinning.
Wrinkling and tearing are the two biggest failure modes in robotic shells because:
- cosmetics matter, and
- shells often have large surfaces that show defects.
Reference (wrinkling/tearing as deep draw defects): https://en.wikipedia.org/wiki/Deep_drawing
Lubrication and surface finish
Deep drawing depends heavily on lubrication to prevent galling and tearing, especially for stainless and aluminum. Your finish targets (paint, anodize, brushed) influence what lubricants and cleaning steps are acceptable.
Reference (metal forming lubrication overview): https://en.wikipedia.org/wiki/Lubricant#Industrial_lubricants
Multi-stage drawing and redrawing
If your enclosure is deep (e.g., long wrist shroud), plan for:
- first draw,
- one or more redraws,
- optional ironing (if needed for wall control),
- then trim/pierce.
Reference (redrawing concept within deep drawing): https://en.wikipedia.org/wiki/Deep_drawing
Ironing for wall thickness control
Ironing can produce very consistent walls and smooth surfaces for “can-like” parts, but it increases tooling complexity and requires good control of lubricants and clearances.
Reference (ironing process): https://en.wikipedia.org/wiki/Deep_drawing#Ironing
Designing robotic arm enclosures to avoid common defects
Wrinkling
Usually caused by insufficient restraint or poor blank holder settings. Reduce risk by:
- increasing blank holder force (carefully),
- adding draw beads,
- improving blank shape (not always round for non-round shells),
- adding local stiffening features after draw (beads/embosses).
Tearing and excessive thinning
Often caused by tight radii, too much restraint, or anisotropic material behavior. Reduce risk by:
- increasing corner radii,
- breaking depth into multiple draws,
- using better-forming alloy/temper,
- improving lubrication,
- adjusting draw bead layout.
Earing
Earing comes from sheet anisotropy (directional properties), and it can be a big cosmetic and trim-cost problem on visible shells. Reduce risk by:
- choosing sheet with controlled anisotropy,
- rotating blank orientation,
- allowing trim stock where ears will appear.
Reference (earing): https://en.wikipedia.org/wiki/Earing_(metal_forming)
Springback
More common in stainless and higher-strength alloys, especially after flanging or forming edges. Manage it with:
- overbend strategy,
- forming sequence changes,
- restrike operations,
- material/temper changes.
Reference (springback): https://en.wikipedia.org/wiki/Springback
Secondary operations for robotics enclosures
Deep drawn shells rarely ship “as-drawn.” Common secondaries:
Trimming and piercing
- Trim flange to final height
- Pierce vents, fastener holes, cable exits, sensor windows
Tip: pierce after drawing (usually), unless the feature is small and well-supported.
Reference (piercing as sheet metal operation): https://en.wikipedia.org/wiki/Piercing_(manufacturing)
Flanging and hemming
- Flanges create stiffness and controlled mounting edges
- Hemming removes sharp edges for human-safe shells
Reference (hemming): https://en.wikipedia.org/wiki/Hemming_(metalworking)
Joining methods
- Spot welding for steel shells
- Rivets or clinching for mixed materials
- Adhesive bonding for vibration damping + cosmetics
- Threaded inserts / PEM-style fasteners for serviceability (often installed post-draw)
Reference (clinching): https://en.wikipedia.org/wiki/Clinching_(fastener)
Designing for assembly and serviceability in robotic arms
Robotic arms get serviced. Your enclosure needs to come off without drama.
Mounting strategy
- Use hidden flanges inside the shell for clean exteriors
- Add datum features (emboss bumps, tabs) to prevent rattle and maintain alignment
- Avoid relying on thin walls for threads; use inserts or bracket structures
Cable exits and grommets
Deep drawn shells are great, but sharp pierce edges can cut harnesses. Plan:
- rolled edges, grommets, or molded strain relief parts
- a controlled “service loop” volume inside the shell
Noise and vibration
Thin shells can “ring.” Add:
- local beads/embosses for stiffness,
- constrained-layer damping patches,
- foam isolation at interfaces.
Finishes and coatings for robotic enclosures
Choose based on environment (lab vs field), cosmetics, and EMI strategy:
- Powder coat / paint: durable, great color control, common for steel and aluminum
Reference: https://en.wikipedia.org/wiki/Powder_coating
- Anodize (aluminum): premium look, good corrosion resistance, can show forming marks depending on surface prep
Reference: https://en.wikipedia.org/wiki/Anodizing
- Passivation (stainless): improves corrosion behavior after forming and handling
Reference: https://en.wikipedia.org/wiki/Passivation_(chemistry)
- Conductive coatings or bare-metal contact points: for EMI grounding paths
Reference (EMI shielding basics): https://en.wikipedia.org/wiki/Electromagnetic_shielding
Important: if EMI shielding matters, define where you need metal-to-metal contact (no paint) and how you control galvanic couples with neighboring parts.
Cost and lead-time drivers
Deep drawing costs are mainly driven by:
- number of draw stages (single draw vs multi-draw + redraw + restrike),
- material thickness and alloy (forming force + tool wear),
- trimming/piercing complexity,
- cosmetic requirements (defect limits, surface finish),
- annual volume (tool amortization).
If you’re scaling from prototypes, a common path is:
- prototype shells via spinning or sheet metal fab (stamp + weld)
- bridge tooling for early pilot (simplified draw + laser trim)
- production deep draw with dedicated trim/pierce tooling
RFQ checklist for deep drawn robotic arm enclosures
- Material and thickness (and whether brushed/2B/other surface is required)
- Target quantity (pilot + annual volume)
- Cosmetic class: define “A-surfaces” and allowable dents/wrinkles/earing trim witness
- Environmental requirements: sweat/humidity, outdoor UV, washdown, chemical exposure
- Critical interfaces: mounting holes, datum edges, gasket lands, cable exits
- Finish: powder coat/anodize/passivation, color, masking requirements for grounding
- Assembly plan: inserts, clips, foam/damping patches, service removal constraints
- Dimensional priorities: overall envelope vs trim line vs hole position (what really matters)
Outbound references used in this guide
Deep drawing overview: https://en.wikipedia.org/wiki/Deep_drawing
Earing: https://en.wikipedia.org/wiki/Earing_(metal_forming)
Springback: https://en.wikipedia.org/wiki/Springback
Hydroforming: https://en.wikipedia.org/wiki/Hydroforming
Metal spinning: https://en.wikipedia.org/wiki/Metal_spinning
Piercing: https://en.wikipedia.org/wiki/Piercing_(manufacturing)
Hemming: https://en.wikipedia.org/wiki/Hemming_(metalworking)
Clinching: https://en.wikipedia.org/wiki/Clinching_(fastener)
Powder coating: https://en.wikipedia.org/wiki/Powder_coating
Anodizing: https://en.wikipedia.org/wiki/Anodizing
EMI shielding: https://en.wikipedia.org/wiki/Electromagnetic_shielding
Passivation: https://en.wikipedia.org/wiki/Passivation_(chemistry)
Key takeaways
- Deep drawing is ideal for seamless, thin-wall, cosmetic metal shells that need durability and repeatability.
- Most robotics issues come down to wrinkling, tearing, earing, and springback—all manageable with the right radii, draw staging, and restraint strategy.
- Plan early for trim/pierce, mounting, serviceability, and finish, because those steps often dominate total cost more than the draw itself.